There’s something magical about the aroma of garlic bread wafting through the kitchen. As someone who’s been baking bread for over a decade, I’ve perfected the art of making garlic bread that’s quick, delicious, and sure to please even the pickiest eaters. The best part? You don’t need to spend hours in the kitchen to achieve bakery-quality results. This 15-minute garlic bread recipe has become my go-to solution for last-minute dinner parties and those evenings when pasta just needs that perfect companion.
Why This Recipe Works
Before diving into the recipe, let me share why this particular method stands out from others you might have tried:
- Speed without sacrifice: Many quick recipes cut corners on flavor, but this one maintains rich, complex notes while keeping preparation time under 15 minutes.
- Customizable intensity: The technique allows you to adjust the garlic punch according to your preference—from subtle to bold.
- Perfect texture combination: Achieves the gold standard of garlic bread: crispy exterior with a soft, buttery interior.
- Economical: Uses ingredients most home cooks already have in their pantry and refrigerator.
- Foolproof method: Even novice cooks can achieve impressive results with these straightforward instructions.
I discovered this method during a chaotic dinner party when I realized I’d forgotten to prepare a side dish. What started as a kitchen emergency has since become one of my most requested recipes. Let’s get started!
Ingredients
For this 15-minute wonder, you’ll need:
| Ingredient | Quantity | Notes |
|---|---|---|
| French bread or Italian baguette | 1 loaf (approximately 18 inches) | Day-old bread works surprisingly well |
| Unsalted butter | 1/2 cup (1 stick) | Softened at room temperature |
| Fresh garlic | 4-6 cloves | Adjust according to your garlic preference |
| Fresh parsley | 2 tablespoons | Finely chopped |
| Parmesan cheese | 1/4 cup | Freshly grated provides best flavor |
| Salt | 1/4 teaspoon | Kosher or sea salt preferred |
| Black pepper | 1/8 teaspoon | Freshly ground |
| Olive oil | 1 tablespoon | Extra virgin for best flavor |
| Optional: Dried oregano | 1/2 teaspoon | For an Italian herb accent |
| Optional: Red pepper flakes | 1/4 teaspoon | For a spicy kick |
Ingredient Quality Matters
When working with such a simple recipe, the quality of each component significantly impacts the final result:
Bread : Choose a loaf with a crisp crust and soft interior. While French bread and Italian baguettes are traditional choices, ciabatta and sourdough can offer interesting flavor variations.
Butter : European-style butter with higher fat content creates a richer, more luxurious spread. However, standard unsalted butter works perfectly well.
Garlic : Fresh garlic cloves are non-negotiable here. Pre-minced garlic from jars lacks the vibrant punch needed to make this recipe shine.
Herbs : While dried herbs can work in a pinch, fresh parsley adds a brightness that transforms this simple side dish.
Equipment Needed
One of the beauties of this recipe is its simplicity in terms of required tools:
- Sharp knife
- Cutting board
- Mixing bowl
- Measuring spoons
- Baking sheet
- Aluminum foil
- Garlic press (optional but helpful)
- Pastry brush (optional)
Instructions
Follow these steps for perfect garlic bread every time:
- Preheat your oven to 375°F (190°C). This temperature achieves the perfect balance of melting the butter mixture while creating a crisp exterior.
- Prepare the garlic butter mixture:
- In a medium bowl, combine the softened butter, minced garlic, chopped parsley, grated Parmesan, salt, pepper, and olive oil.
- If using, add the dried oregano and red pepper flakes.
- Mix thoroughly until well combined and smooth. The olive oil helps create a spreadable consistency even if your butter isn’t fully softened.
- Prepare the bread:
- Cut the bread loaf in half lengthwise to create two long pieces.
- If your bread is extremely fresh and soft, you can place it cut-side up in the oven for 2-3 minutes to slightly dry the surface, which will prevent soggy garlic bread.
- Apply the garlic butter:
- Spread the garlic butter mixture generously and evenly across the cut surfaces of both bread halves.
- Ensure the spread reaches all the way to the edges for consistent flavor in every bite.
- Reassemble and wrap:
- Place the buttered bread halves back together, reconstructing the loaf.
- Wrap the entire loaf loosely in aluminum foil. The foil should be sealed but not tight against the bread.
- Bake to perfection:
- Place the wrapped loaf on a baking sheet and bake for 10-12 minutes, until the butter is melted and the bread is warmed through.
- For a crispy finish, open the foil package and bake for an additional 2-3 minutes with the cut sides facing up.
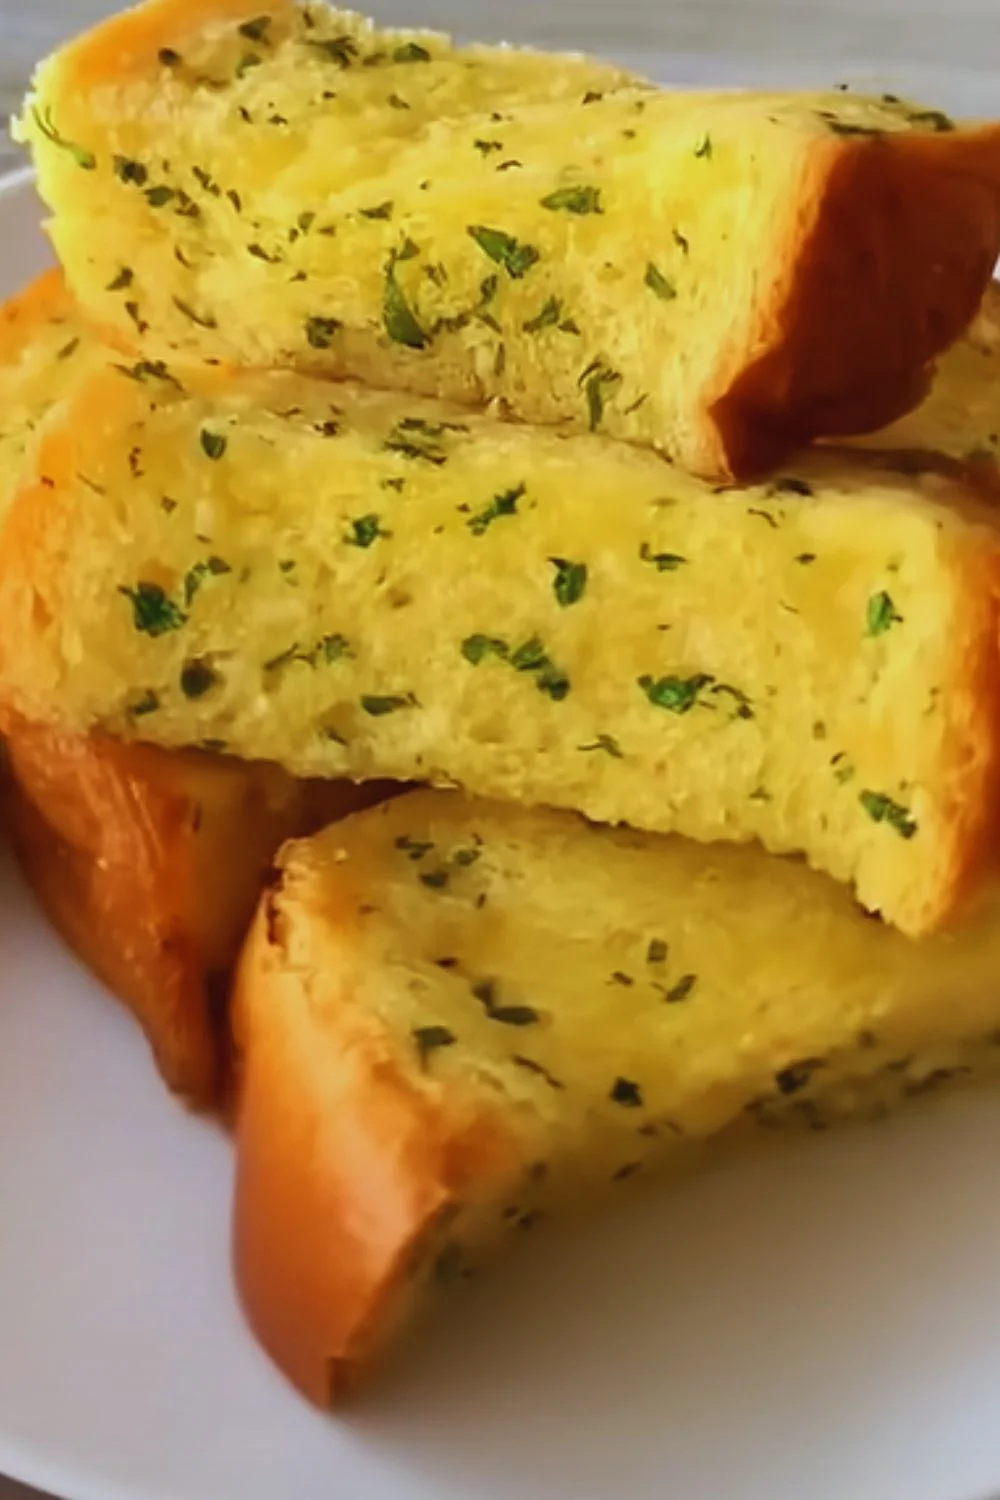
- Slice and serve:
- Remove from the oven and allow to cool for just 1 minute.
- Slice into approximately 2-inch portions and serve immediately while still warm.
Variations to Try
Once you’ve mastered the basic recipe, experiment with these delicious variations:
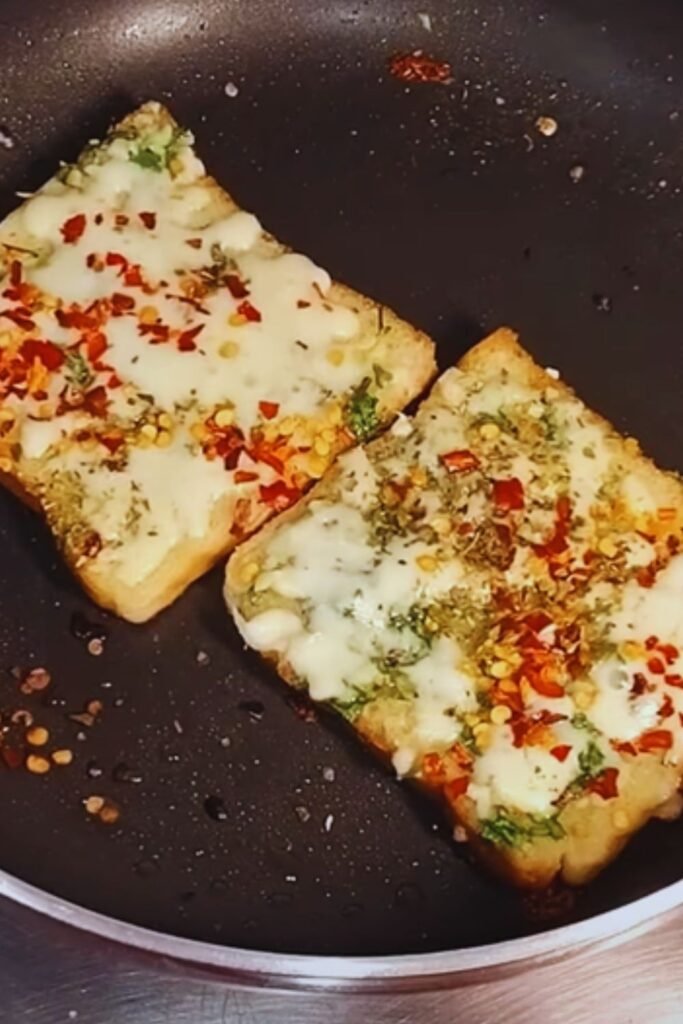
Cheesy Garlic Bread Supreme
Add an extra 1/2 cup of mozzarella cheese to the butter mixture and top with another 1/2 cup of shredded mozzarella before the final 2-3 minutes of baking without the foil. The result is a gloriously cheesy, pull-apart delight.
Herb Garden Explosion
Double the herbs by adding 1 tablespoon each of fresh basil, thyme, and chives to the basic mixture. This variation pairs exceptionally well with tomato-based dishes.
Roasted Garlic Luxury
For a more mellow, complex garlic flavor, substitute regular garlic with an entire head of roasted garlic. Simply slice the top off a head of garlic, drizzle with olive oil, wrap in foil, and roast at 400°F for 30 minutes before starting the recipe. The soft, caramelized cloves will create a completely different garlic experience.
Mediterranean Twist
Add 2 tablespoons of finely chopped sun-dried tomatoes and 1 tablespoon of finely chopped Kalamata olives to the butter mixture for a Mediterranean-inspired version.
| Variation | Additional Ingredients | Baking Adjustment | Best Paired With |
|---|---|---|---|
| Cheesy Supreme | 1 cup mozzarella cheese | Extra 2-3 minutes uncovered | Lasagna, Spaghetti |
| Herb Garden | Fresh basil, thyme, chives | No adjustment needed | Grilled vegetables, Ratatouille |
| Roasted Garlic | 1 head roasted garlic (replace fresh) | No adjustment needed | Roast chicken, Beef stew |
| Mediterranean | Sun-dried tomatoes, Kalamata olives | No adjustment needed | Greek salad, Grilled fish |
Time-Saving Tips
When every minute counts, these shortcuts can help:
- Prepare in advance: Make the garlic butter mixture up to 3 days ahead and store in the refrigerator. Bring to room temperature before using.
- Freezer-friendly: Assemble the garlic bread completely, wrap in foil, then place in a freezer bag. Freeze for up to 1 month and bake directly from frozen, adding just 5-7 minutes to the baking time.
- Microwave shortcut: In a true time crunch, microwave the assembled garlic bread (without foil) for 30 seconds, then finish under the broiler for 1-2 minutes for a crispy top.
- Garlic hack: Use a microplane instead of a garlic press for even faster garlic preparation.

Troubleshooting Common Issues
Even this simple recipe can sometimes go awry. Here’s how to fix common problems:
Too Soggy
If your garlic bread turns out soggy rather than crisp:
- Make sure your oven is properly preheated before baking
- Pre-toast the cut surfaces of very fresh bread for 2-3 minutes
- Avoid overloading with butter mixture
- Ensure the foil wrapping is loose enough to allow some steam to escape
Too Dry
If your bread ends up too dry or hard:
- Your bread might have been too stale to begin with
- The oven temperature might be too high
- You may have baked it too long
- Try adding an extra tablespoon of olive oil to the butter mixture
Burnt Garlic Taste
If there’s an unpleasant burnt garlic flavor:
- Your garlic pieces might be too large, causing them to burn
- The oven temperature might be too high
- You might have broiled for too long during the final crisping stage
- Next time, mix the garlic more thoroughly into the butter to protect it
Uneven Flavor Distribution
If some bites are flavorless while others are overwhelmingly garlicky:
- Take more time to mix the garlic butter thoroughly
- Ensure even spreading across the entire bread surface
- Consider using a food processor to create a more homogeneous mixture
Serving Suggestions
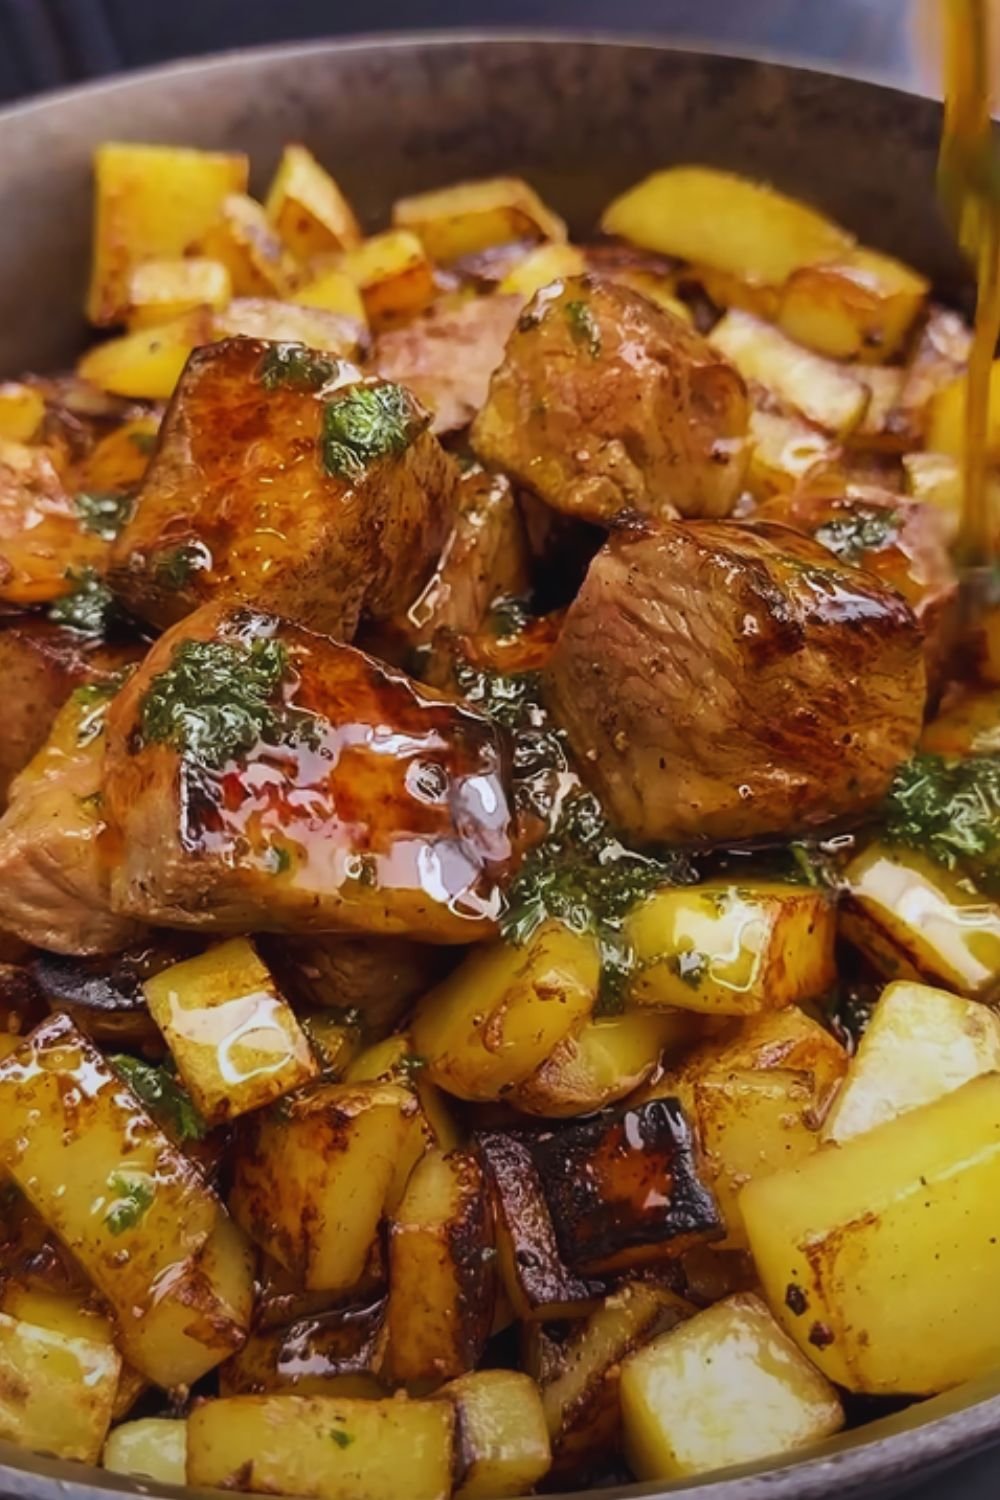
Garlic bread complements numerous dishes beyond the obvious pasta pairings:
- Soups: Serve alongside tomato soup, minestrone, or French onion soup for a perfect dipping companion.
- Salads: Transform a simple Caesar or Greek salad into a complete meal with a side of warm garlic bread.
- Grilled proteins: Pairs wonderfully with grilled chicken, steak, or fish—especially when used to soak up flavorful juices.
- Vegetarian mains: Complements ratatouille, eggplant parmesan, or roasted vegetable platters.
- On its own: Serve as an appetizer with a side of marinara sauce for dipping.
For a complete Italian-inspired meal, I recommend serving this garlic bread with a simple spaghetti aglio e olio, a fresh arugula salad with lemon vinaigrette, and finishing with a light dessert like panna cotta.

Nutritional Information
While garlic bread is admittedly an indulgence, it’s helpful to understand what’s in each serving:
| Nutrient | Amount per Serving (1/8 of loaf) |
|---|---|
| Calories | 210 |
| Total Fat | 12g |
| Saturated Fat | 7g |
| Cholesterol | 30mg |
| Sodium | 280mg |
| Total Carbohydrates | 22g |
| Dietary Fiber | 1g |
| Sugars | 1g |
| Protein | 4g |
| Vitamin A | 8% DV |
| Vitamin C | 2% DV |
| Calcium | 6% DV |
| Iron | 8% DV |
*Values are approximate and may vary based on specific ingredients used.
Storage and Reheating
In the unlikely event you have leftovers, here’s how to keep them at their best:
- Short-term storage: Wrap cooled garlic bread in aluminum foil and store at room temperature for up to 2 days.
- Refrigeration: While possible, refrigeration tends to dry out the bread and is not recommended.
- Freezing: Wrap leftover slices individually in foil, then place in a freezer bag. Freeze for up to 1 month.
Reheating Methods (in order of preference):
- Oven method: Wrap in foil and heat at 350°F for 5-7 minutes until warmed through.
- Toaster oven: Heat unwrapped for 2-3 minutes until crisp and warm.
- Air fryer: 2 minutes at 350°F for remarkably crisp results.
- Microwave: Only as a last resort—30 seconds covered with a damp paper towel, though texture will suffer.
Health Benefits of Garlic
While this recipe certainly isn’t health food, it’s worth noting the numerous benefits of its star ingredient. Garlic has been used medicinally for thousands of years and contains compounds that may:
- Support immune function
- Help reduce blood pressure
- Improve cholesterol levels
- Provide antioxidant effects
- Potentially reduce risk of certain cancers
The parsley in the recipe adds more than just color—it contains vitamins A, C, and K, as well as minerals like iron and potassium.
The History of Garlic Bread
Though many assume garlic bread has ancient Italian roots, the version we know today is largely an Italian-American creation that gained popularity in the mid-20th century. Traditional Italian bruschetta—toasted bread rubbed with garlic and drizzled with olive oil—is the likely ancestor of today’s more indulgent garlic bread.
The addition of butter (rather than just olive oil) and the technique of baking the assembled loaf are innovations that likely developed in American kitchens, where butter was more commonly used than in traditional Italian cooking.
Questions & Answers
Can I use pre-made garlic bread from the freezer section instead? While convenient, commercial frozen garlic bread typically contains preservatives and artificial flavors. This homemade version takes just minutes to prepare and offers superior flavor, texture, and the ability to customize to your taste preferences.
Is there a dairy-free alternative for the butter? Absolutely! Plant-based butter substitutes work wonderfully in this recipe. Ensure you select one with a neutral flavor profile (some have a distinct coconut taste). You can also omit the Parmesan or replace it with nutritional yeast for a dairy-free option.
How many cloves of garlic is really enough? This is entirely subjective! My recipe calls for 4-6 cloves for a balanced flavor. Garlic lovers might use up to 8 cloves, while those who prefer a milder taste might reduce to 2-3 cloves. Remember that fresh garlic varies in strength depending on its age and variety.
Can I use garlic powder instead of fresh garlic? While fresh garlic provides the best flavor, garlic powder can work in a pinch. Start with 1 teaspoon of garlic powder as a substitute for the fresh cloves. The flavor profile will be different—less bright and pungent, more mellow and consistent.
Why does restaurant garlic bread taste different from homemade? Many restaurants use a garlic compound butter that has been allowed to rest, allowing flavors to meld. Some add a small amount of sugar to enhance browning, while others use a blend of butter and margarine for a specific texture. To replicate restaurant-style garlic bread, prepare your garlic butter 24 hours in advance and store it in the refrigerator before using.
Is it better to slice the bread before or after baking? For the best results, slice after baking. Pre-slicing can cause the bread to dry out during baking. However, if you’re preparing for a crowd and need easy serving, you can make shallow cuts before baking, then finish cutting all the way through after baking.
How can I make this recipe even faster? For an even quicker version, skip the foil-wrapped baking stage and simply place the buttered bread halves, cut side up, under the broiler for 2-3 minutes until golden and bubbly. Watch carefully to prevent burning!
Can I add other ingredients like bacon or jalapeños? Absolutely! Finely chopped cooked bacon or jalapeños make excellent additions to the garlic butter mixture. Just ensure any additional ingredients are either pre-cooked or finely chopped to ensure they heat through properly during the brief baking time.
Final Thoughts
This 15-minute garlic bread recipe has saved countless dinners at my table, transforming simple meals into memorable experiences. The magic of garlic bread lies in its simplicity—a reminder that sometimes the most basic combinations of ingredients yield the most satisfying results.
What I love most about this recipe is its adaptability. Whether you’re serving an elegant dinner party or a casual family meal, this garlic bread fits perfectly. It straddles the line between everyday food and special occasion treat, elevating anything it accompanies.
I encourage you to make this recipe your own. Adjust the garlic to suit your taste, experiment with herbs and additions, and find your perfect balance of soft interior and crispy exterior. Cooking is about connection—to ingredients, to tradition, and to the people we feed. Even something as simple as garlic bread can be an expression of care when prepared thoughtfully.
Now, as the wonderful aroma fills your kitchen and you tear into that first warm, buttery piece, take a moment to appreciate this humble yet perfect creation. In a world of complicated recipes and exotic ingredients, sometimes all we really need is good bread, garlic, and butter to create a moment of culinary bliss.