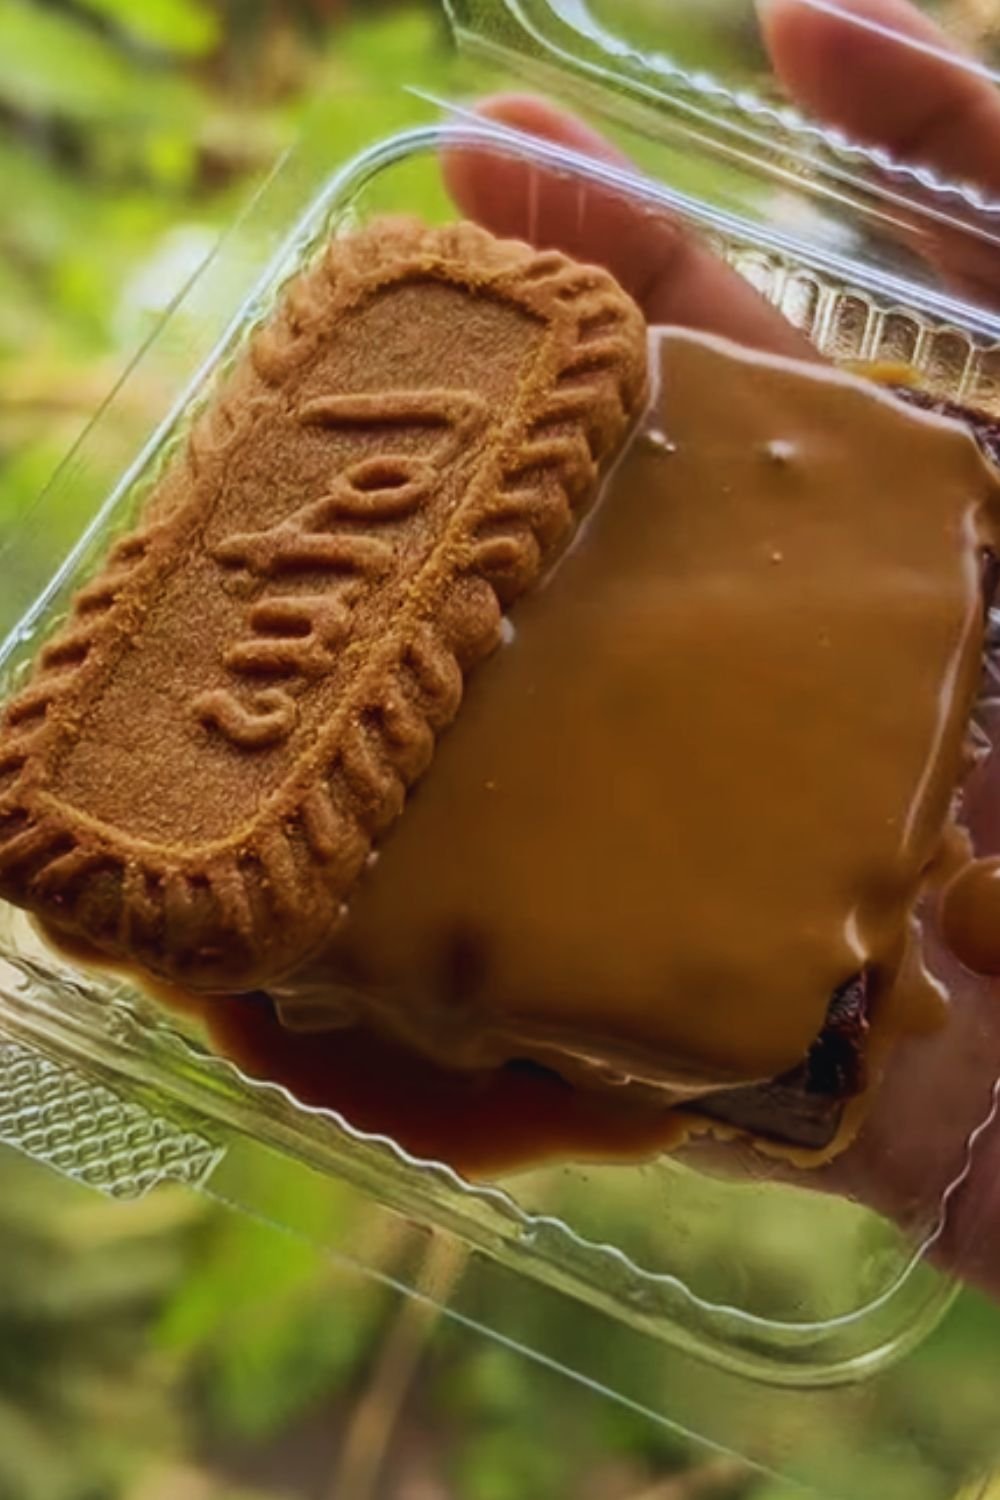
There’s something absolutely magical about the combination of rich chocolate brownies and the warm, spiced caramel flavor of Lotus Biscoff spread. If you’ve never experienced this heavenly pairing, prepare your taste buds for an unforgettable treat! As someone who has spent countless hours perfecting brownie recipes, I can confidently say that adding Biscoff elements takes traditional brownies to extraordinary new heights.
When I first discovered Lotus Biscoff spread (that irresistible creamy version of those little spiced cookies that often come with coffee), I immediately started dreaming up ways to incorporate it into my baking. The result? These indulgent Lotus Biscoff Brownies that have become my most requested dessert among friends and family. They’re fudgy, they’re crunchy, they’re swirled with speculoos goodness, and they’re absolutely impossible to resist.
What Makes These Biscoff Brownies Special
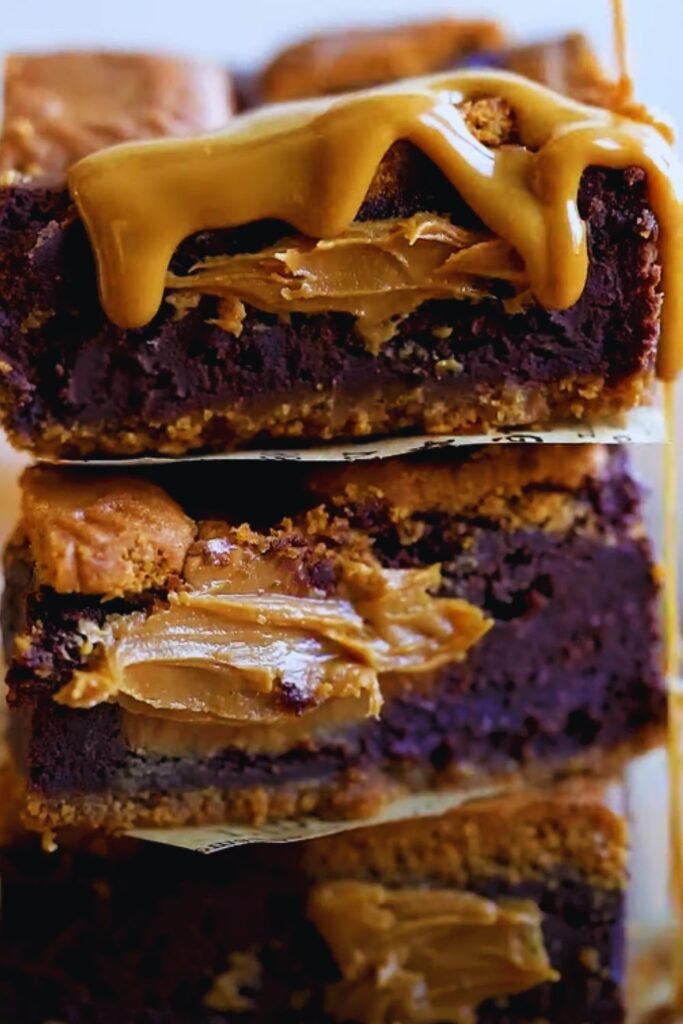
Before we dive into the recipe, let me tell you why these aren’t just ordinary brownies. The base is a perfectly balanced fudgy chocolate brownie – not too sweet and with deep cocoa flavor. This creates the ideal canvas for the star of the show: layers of Lotus Biscoff in three different forms.
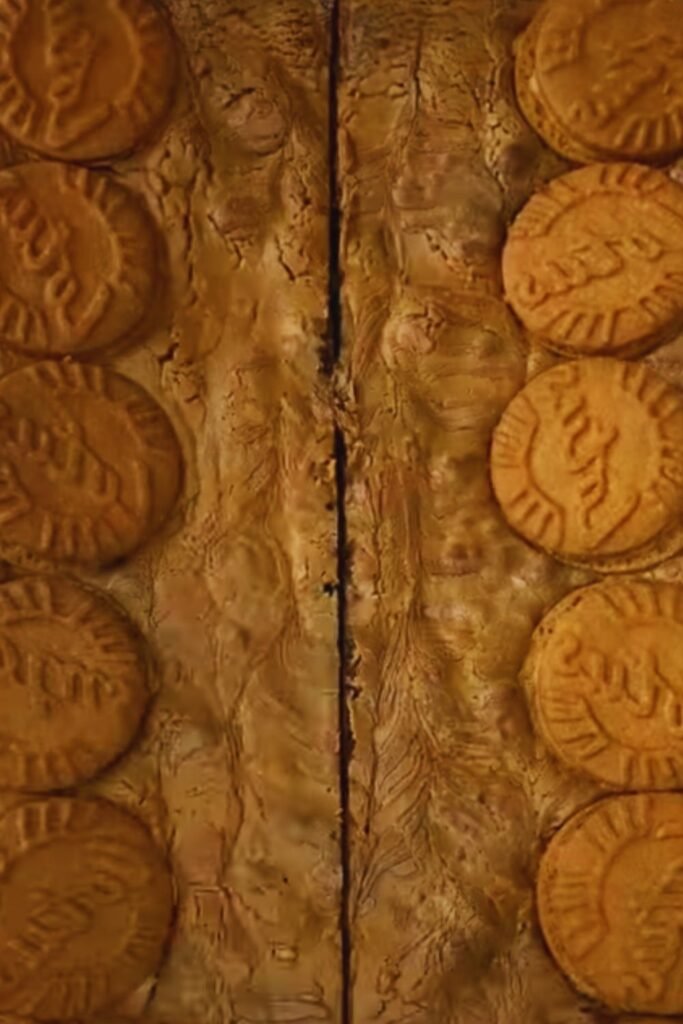
First, I mix crushed Biscoff cookies into the batter for texture and flavor distribution. Then, I create gorgeous Biscoff spread swirls throughout the brownies. And finally, I top everything with more crushed cookies for that perfect crispy finish. It’s a triple-threat Biscoff experience that transforms a simple brownie into something extraordinary.
Ingredients You’ll Need
For the brownie base:
- 200g high-quality dark chocolate (70% cocoa solids)
- 175g unsalted butter
- 3 large eggs, room temperature
- 250g granulated sugar
- 1 teaspoon vanilla extract
- 120g all-purpose flour
- 30g cocoa powder (Dutch-processed for deeper flavor)
- ½ teaspoon salt
For the Biscoff elements:
- 200g Lotus Biscoff spread (smooth variety)
- 150g Lotus Biscoff cookies (approximately 18-20 cookies)
- 2 tablespoons milk (to thin the spread for swirling, if needed)
Tools Required
- 9×9 inch (23×23 cm) square baking pan
- Parchment paper
- Mixing bowls (large and medium)
- Heatproof bowl for melting chocolate
- Saucepan for bain-marie
- Whisk
- Rubber spatula
- Cooling rack
- Sharp knife for cutting
Detailed Nutritional Information
For those who like to keep track of what they’re consuming, here’s a comprehensive nutritional breakdown per serving (based on cutting the brownies into 16 squares):
| Nutrient | Amount per Serving | % Daily Value* |
|---|---|---|
| Calories | 385 kcal | 19% |
| Total Fat | 22g | 28% |
| – Saturated Fat | 12g | 60% |
| – Trans Fat | 0g | – |
| Cholesterol | 62mg | 21% |
| Sodium | 175mg | 8% |
| Total Carbohydrates | 42g | 15% |
| – Dietary Fiber | 1.5g | 5% |
| – Sugars | 32g | – |
| Protein | 4g | 8% |
| Vitamin D | 0.2μg | 1% |
| Calcium | 32mg | 2% |
| Iron | 2.4mg | 13% |
| Potassium | 142mg | 3% |
*Percent Daily Values are based on a 2,000 calorie diet
Step-by-Step Instructions
Preparation Phase
- Preheat your oven to 350°F (175°C).
- Line your baking pan with parchment paper, leaving some overhang on all sides for easy removal later.
- Take 100g of the Lotus Biscoff cookies (about 12-13 cookies) and crush them into medium-sized pieces. Set aside.
- Reserve the remaining cookies for the topping.
Making the Brownie Batter
- Break the dark chocolate into small pieces and cube the butter.
- Create a bain-marie by placing a heatproof bowl over a saucepan of simmering water (make sure the bowl doesn’t touch the water).
- Add the chocolate and butter to the bowl and gently melt them together, stirring occasionally until completely smooth.
- Remove from heat and allow to cool slightly for about 5 minutes.
- In a large bowl, whisk the eggs, sugar, and vanilla extract until pale and fluffy (about 2-3 minutes).
- Pour the melted chocolate-butter mixture into the egg mixture and fold gently until well combined.
- Sift in the flour, cocoa powder, and salt, then fold again until just incorporated – don’t overmix!
- Fold in 3/4 of your crushed Biscoff cookies, reserving some for the topping.
Adding the Biscoff Elements
- Pour half of the brownie batter into your prepared baking pan and spread it evenly.
- Warm 100g of the Biscoff spread slightly in the microwave (15-20 seconds) to make it more fluid.
- Dollop half of the warmed Biscoff spread over the brownie layer and gently swirl it with a knife or skewer.
- Pour the remaining brownie batter on top.
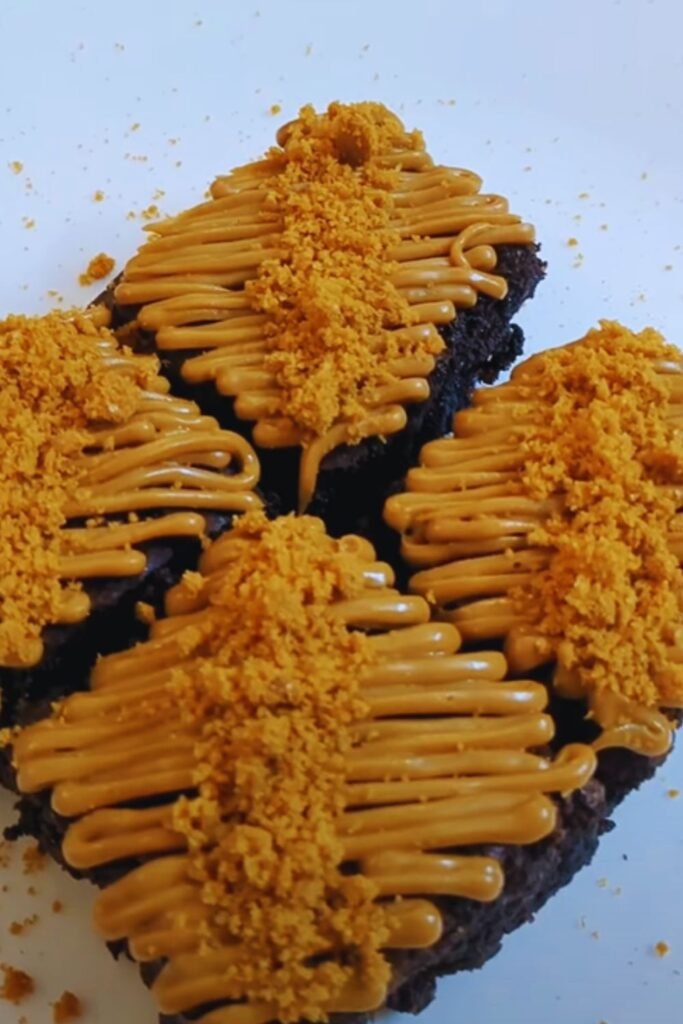
- Warm the remaining 100g of Biscoff spread and dollop it over the top layer.
- Use a clean knife or skewer to create beautiful swirls throughout the surface.
- Sprinkle the remaining crushed Biscoff cookies over the top.
Baking and Cooling
- Bake in the preheated oven for 25-30 minutes. The center should be slightly soft but not liquid (a toothpick inserted should come out with a few moist crumbs).
- Remove from the oven and allow to cool in the pan for at least 1 hour.
- Using the parchment paper overhang, lift the brownies out of the pan and place on a cooling rack to cool completely (about another hour).
- Once completely cool, refrigerate for at least 2 hours before cutting for the cleanest slices.
Pro Tip: For extra clean cuts, warm your knife under hot water, wipe it dry, then slice. Clean and reheat the knife between each cut.
Texture and Flavor Variations
One of the things I love most about this recipe is how adaptable it is. Here are some tested variations that work beautifully:
Texture Spectrum
| Brownie Style | Adjustments to Base Recipe | Result |
|---|---|---|
| Extra Fudgy | Reduce flour to 100g and bake for 22-25 minutes | Ultra-rich, moist brownies with an almost truffle-like center |
| Perfectly Balanced | Follow the recipe as written | The ideal balance of fudgy center with slightly chewy edges |
| More Cakey | Increase flour to 140g and add ½ tsp baking powder | Lighter texture while still maintaining moisture |
| Extra Crunchy | Add 50g chopped nuts (almonds or hazelnuts work well) | Additional texture contrast that complements the Biscoff |
| Chewy Edges | Use a metal pan and position in the upper third of the oven | Creates those coveted chewy brownie edges |
Flavor Enhancements
For those who want to experiment further, these additions work harmoniously with the Biscoff flavor:
- 1 teaspoon ground cinnamon added to the batter enhances the spice notes
- A pinch of salt flakes sprinkled on top before baking creates a delicious sweet-salty contrast
- 100g white chocolate chips folded in with the cookie pieces adds creamy pockets of sweetness
- 2 tablespoons of espresso powder dissolved in the vanilla deepens the chocolate flavor
- A tablespoon of bourbon or dark rum in the batter introduces a subtle complexity
Troubleshooting Common Issues
Even experienced bakers sometimes encounter challenges. Here are solutions to the most common issues with these brownies:
Biscoff Spread Sinking
If your Biscoff swirls are sinking to the bottom, it’s likely because the spread is too warm. Solution: After warming the spread, allow it to cool slightly until it’s just fluid enough to swirl but not hot.
Brownies Too Dry
This usually happens from overbaking. Remember that brownies continue to set as they cool. They should look slightly underbaked in the center when you remove them from the oven.
Uneven Baking
If the edges are overcooked while the center is underdone, your oven temperature may be running hot. Try reducing the temperature by 25°F and using an oven thermometer for accuracy.
Difficult to Cut Cleanly
Always refrigerate the brownies for at least 2 hours before cutting. The warm knife method mentioned earlier also works wonders for professional-looking slices.
Storage and Make-Ahead Tips
These brownies actually improve in flavor after a day, as the Biscoff flavor permeates the entire brownie. Here’s how to store them:
- Room Temperature: Store in an airtight container for up to 3 days.
- Refrigerator: Keep for up to 1 week in an airtight container with parchment between layers.
- Freezer: Wrap individual brownies in plastic wrap, then foil, and freeze for up to 3 months. Thaw at room temperature for 2-3 hours before serving.
Make-Ahead Options:
- Prepare the batter and refrigerate for up to 24 hours before baking.
- Bake the brownies but leave them in the pan, cool completely, then wrap the entire pan in plastic wrap and refrigerate for up to 3 days before cutting.
Serving Suggestions
These Lotus Biscoff Brownies are absolutely divine on their own, but if you’re looking to create a truly memorable dessert experience, here are some of my favorite serving ideas:
- Warm a brownie square for 15-20 seconds in the microwave and top with a scoop of vanilla ice cream and a drizzle of warm Biscoff spread.
- Create a brownie sundae with coffee ice cream, crushed Biscoff cookies, and a dollop of lightly sweetened whipped cream.
- Serve alongside a hot cup of chai tea or coffee for an afternoon treat – the spice notes in both complement each other beautifully.
- Cube the brownies and use them to top a simple vanilla panna cotta for an elegant dessert.
- Layer brownie pieces with whipped cream and Biscoff spread in a clear glass to create a striking trifle-inspired dessert.
- For special occasions, dust with gold edible glitter or gold leaf for a touch of luxury.
The Science Behind Perfect Brownies
Understanding a few baking principles can help you achieve brownie perfection every time:
- The high ratio of fat to flour in this recipe creates that desirable fudgy texture.
- Melting the chocolate and butter together creates a homogenous fat mixture that coats the flour particles, limiting gluten development.
- The addition of cocoa powder boosts chocolate flavor without adding extra moisture.
- Using room temperature eggs allows them to incorporate more air when whisked with sugar, creating that delicate crackly top.
- Underbaking slightly ensures the brownies remain moist and fudgy in the center.
- The cooling and refrigeration process allows the fats to re-solidify, resulting in a dense, fudgy texture and cleaner cuts.
Health-Conscious Adaptations
While these brownies are definitely an indulgent treat, I’ve experimented with some modifications for those with dietary considerations:
Gluten-Free Version
Replace the all-purpose flour with a high-quality gluten-free flour blend (one that contains xanthan gum). Check that your Biscoff products are certified gluten-free, or substitute with gluten-free speculoos-style cookies and spread.
Reduced Sugar Option
You can reduce the granulated sugar to 200g without significantly impacting the texture. The brownies will be slightly less sweet but will still have that wonderful fudgy quality and will allow the spice notes to shine through more prominently.
Dairy-Free Adaptation
Use plant-based butter and dairy-free milk for thinning the Biscoff spread if needed. Most Lotus Biscoff products are naturally dairy-free, but always check the packaging to be certain.
The Cultural Background of Speculoos
I find the history of ingredients fascinating. Speculoos cookies (which Lotus Biscoff are a type of) have been enjoyed in Belgium and the Netherlands since the 17th century. Traditionally spiced with cinnamon, nutmeg, cloves, ginger, cardamom, and white pepper, these cookies were originally created for St. Nicholas Day celebrations.
The transformation of these spiced cookies into a creamy spread occurred much more recently, reportedly invented by a Belgian mother and daughter team who appeared on a television invention show in 2007. The product quickly gained international popularity, becoming the beloved Biscoff spread we know today.
Incorporating this spread into brownies creates a wonderful fusion of American and European baking traditions – the fudgy chocolate brownie (an American classic) enhanced by the warm spiced caramel notes of European speculoos cookies.

Frequently Asked Questions
Q: Can I use milk chocolate instead of dark chocolate in this recipe?
A: You can, but I’d recommend reducing the sugar to 200g if you do. The brownies will be sweeter and have a milder chocolate flavor, which may allow the Biscoff flavor to dominate more.
Q: My brownies didn’t develop that shiny, crackly top. What went wrong?
A: The crackly top comes from properly whisking the eggs and sugar until pale and slightly fluffy before adding the chocolate mixture. Make sure to whisk for at least 2-3 minutes, and don’t overmix after adding the dry ingredients.
Q: Can I double this recipe for a larger batch?
A: Absolutely! Double all ingredients and use a 9×13 inch (23×33 cm) baking pan. You may need to increase the baking time by about 5-10 minutes, but still watch carefully for the signs of doneness.
Q: Is there a way to make these less rich?
A: For a lighter version, reduce the butter to 150g and replace the remaining 25g with unsweetened applesauce. This maintains moisture while reducing some of the richness.
Q: My Biscoff cookies got soft after baking. How can I keep them crunchy?
A: To maintain more crunch, add the crushed cookies for the topping during the last 5 minutes of baking or immediately after removing from the oven, gently pressing them into the top.
Q: Can I use crunchy Biscoff spread instead of smooth?
A: Absolutely! Crunchy Biscoff spread works beautifully and adds extra texture throughout the brownies.
Q: How can I tell when my brownies are perfectly baked?
A: The edges should be set and slightly pulled away from the sides of the pan. The center should be set on top but still slightly soft – a toothpick inserted should come out with a few moist crumbs, not completely clean (which would indicate overbaking).
Q: Can I make these without an electric mixer?
A: Yes! While an electric mixer makes whisking the eggs and sugar easier, you can definitely do it by hand with a whisk and some elbow grease. Just make sure to whisk vigorously for at least 3-4 minutes to incorporate enough air.
Final Thoughts
Crafting these Lotus Biscoff Brownies has become something of a meditation for me – the precise measuring, the careful swirling, the patient waiting as they cool. There’s something deeply satisfying about transforming simple ingredients into something so extraordinarily delicious.
What I love most about this recipe is how it creates moments of joy when shared with others. The look on someone’s face when they take that first bite – the surprise at the complexity of flavors, the appreciation of the perfect texture – is absolutely priceless.
I encourage you to try these brownies the next time you’re craving something truly special or need an impressive dessert for gathering. They require a bit more effort than a basic brownie, but I promise the results are more than worth it. And once you master them, they’ll likely become your signature dessert too.
Happy baking, and enjoy every speculoos-infused bite!